Table of Contents
ToggleThe wall behind your TV doesn’t have to be an afterthought. A well-executed feature wall transforms that blank canvas into a focal point that ties your entire living room together, and honestly, it’s one of the highest-impact projects a homeowner can tackle. Whether you’re working with a modest apartment or a sprawling den, the right feature wall idea elevates the space without requiring a full renovation or a contractor’s invoice. In 2026, feature wall trends lean toward bold textures, warm neutrals, and integrated lighting that make the TV feel like part of the room’s design, not just bolted to the wall. Let’s walk through seven practical approaches that work for different budgets, skill levels, and aesthetics.
Key Takeaways
- Feature wall ideas for living rooms transform your TV wall into a focal point using paint, texture, wood, stone, wallpaper, or integrated lighting without requiring expensive renovations.
- Deep, warm neutral paint colors like charcoal and sage create an ideal backdrop for TVs, while jewel tones like emerald and navy offer sophisticated statement options that won’t look dated in 6 months.
- Textured finishes using drywall compounds or peel-and-stick textured wallpapers add visual depth and dimension that flat paint cannot achieve, making your feature wall feel dynamic and alive.
- Shiplap and wood paneling require proper preparation and straight alignment, budgeting 6–8 hours for installation, with crucial gaps left at edges for seasonal wood movement to prevent cracking.
- LED strip lighting and recessed lights eliminate eye strain by reducing harsh contrast between bright screens and dark walls, while soft indirect lighting enhances your feature wall’s color and texture without creating screen glare.
- Proper wall preparation—cleaning, priming, and measuring twice—is essential regardless of your chosen approach, as rushing installation undermines the impact of any feature wall design.
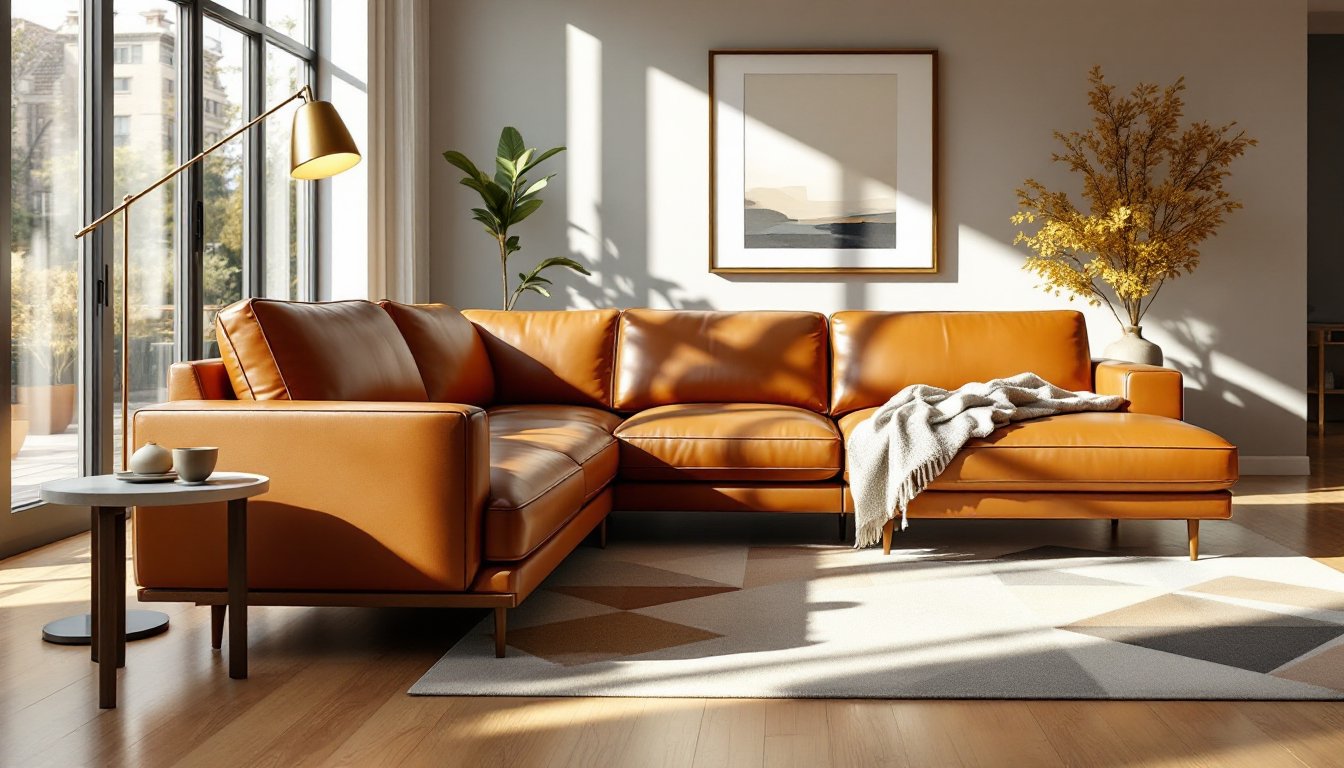
Accent Wall Paint Colors That Frame Your TV Beautifully
Paint is the fastest, most reversible option, and the results can be stunning. The trick is choosing a color that complements your TV and viewing experience rather than competes with it.
Deep, warm neutrals like charcoal, sage, or warm taupe create a receding backdrop that lets your screen shine. These colors don’t bounce light back into viewers’ eyes the way light or reflective colors do. If you prefer bolder statement colors, jewel tones (emerald, navy, terracotta) have regained traction: they’re sophisticated without being trendy-for-just-six-months.
Prep is everything: patch holes, sand the wall smooth, prime if you’re covering a dark color or glossy finish, and paint in the same lighting conditions you’ll use the room. Most living rooms benefit from two coats of quality interior paint (aim for 400+ square feet per gallon coverage). Flat or matte finishes hide imperfections best: eggshell adds slight durability for high-touch areas, though the TV wall itself won’t get much contact.
Consider the 60-30-10 rule: 60% dominant color (your walls), 30% secondary (furniture), 10% accent. Your feature wall typically anchors one of those percentages. If the wall is dark, keep furnishings lighter to maintain visual balance.
Textured Wall Finishes for Depth and Visual Interest
Texture adds dimension that flat paint can’t achieve. Techniques like knockdown drywall texture, popcorn (though less favored now), or applied textured finishes create shadow and visual movement that makes a wall feel alive.
Sheetrock or drywall compound textures are DIY-friendly: trowel on a lightweight spackling compound, partially flatten it with a knife or sponge, and paint over once dry. Knockdown, which creates a subtle, flattened pattern, works especially well behind TVs, it’s not so aggressive it distracts from the screen. Products like DAP Fast ‘N Final or RediBond are easy to apply with a putty knife or trowel.
Textured wallpapers (grasscloth, linen, 3D panels) offer similar depth without the mess of compound. Peel-and-stick textured options have improved dramatically and avoid permanent adhesive.
Before applying texture, seal any gaps and fill holes completely. Texture hides minor imperfections but magnifies uneven surfaces. Apply primer first, then your finish. Textured walls are trickier to touch up later, so get the coverage right the first time.
Wood Paneling and Shiplap: Classic Feature Wall Solutions
Wood-clad walls exude warmth and permanence. Modern shiplap (horizontal, rabbeted boards that interlock) has become the go-to, though traditional paneling and batten-and-board designs work equally well.
Shiplap comes in solid wood (pine, oak) or engineered/peel-and-stick versions. Real wood requires acclimation: bring it indoors 48 hours before installation so it adjusts to humidity. Nail or screw shiplap perpendicular to wall studs (typically 16 inches on center). Use a level and stud finder to keep lines straight: misaligned shiplap is noticeable and harder to fix after installation.
Shiplap installation isn’t difficult, but it’s labor-intensive. Budget 6–8 hours for a 12×10 foot wall, and plan for a helper to hold boards while you fasten. Pre-drilling prevents splitting, especially near edges. Once installed, you can paint, stain, or leave it natural.
Engineered shiplap (MDF or plywood veneer) is cheaper and moisture-resistant but less authentic-feeling. Peel-and-stick versions are budget-friendly for renters but don’t hold up to humidity shifts or repositioning.
One caution: real wood expands and contracts. Leave a tiny gap (1/8 inch) at corners and edges for seasonal movement. Ignore this and you’ll see cracking or buckling within a year or two.
Stone and Brick Accent Walls for Industrial Charm
Exposed brick or faux stone brings raw, sophisticated character. If your house has masonry walls already, clearing away plaster and paint reveals them, a worthwhile project that’s more labor than skill-intensive.
Faux brick or stone panels (foam, lightweight concrete composites) mimic the real thing at a fraction of the weight and cost. Products like Realstone or Artifix install over drywall with construction adhesive and simple blocking. They’re not as durable as actual masonry, but in a living room (low-traffic wall), they hold up fine.
Real brick or stone requires structural assessment, masonry is heavy, and you need to confirm your wall can support it. If you’re adding weight or modifying the wall structure, consult a contractor or engineer first. This isn’t a casual weekend project.
For authentic exposed brick, remove plaster and paint with a chisel and wire brush. Grout repointing may be necessary if mortar is crumbling. Seal afterward to minimize dust and protect from moisture.
Stone and brick don’t need paint, but you can seal them to unify color or reduce dustiness. The raw material provides enough visual interest that your TV wall becomes a statement piece without additional décor.
Wallpaper and Patterned Designs to Make a Statement
Modern wallpaper, especially peel-and-stick versions, has shed its grandma reputation. Geometric patterns, botanical prints, and oversized designs create focal points that paint alone can’t match.
Choose wisely: busy patterns can feel cramped in smaller rooms, and trends in wallpaper shift faster than paint. Neutral patterns (large geometrics in grey and white, subtle damasks) are safer long-term bets. Reserve bold, trendy prints for accent walls you’re willing to refresh in 3–5 years.
Installation matters more than material. Prep the wall: smooth, clean, and primed (especially if covering dark colors). Measure twice, cut once. Remove outlets and light switches before hanging: reinstall after the paper is in place. Use a level, straight edge, and smoothing tool (squeegee or credit card) to avoid bubbles and wrinkles.
Traditional wallpaper requires paste and patience. Peel-and-stick is faster and more forgiving but won’t stick well to textured or matte surfaces, prime or seal first. Some peel-and-stick products are repositionable: others aren’t. Check the product specs.
Remember: wallpaper behind a TV means glare if the pattern is glossy or reflective. Matte finishes are better for reducing screen glare and maintaining viewing comfort.
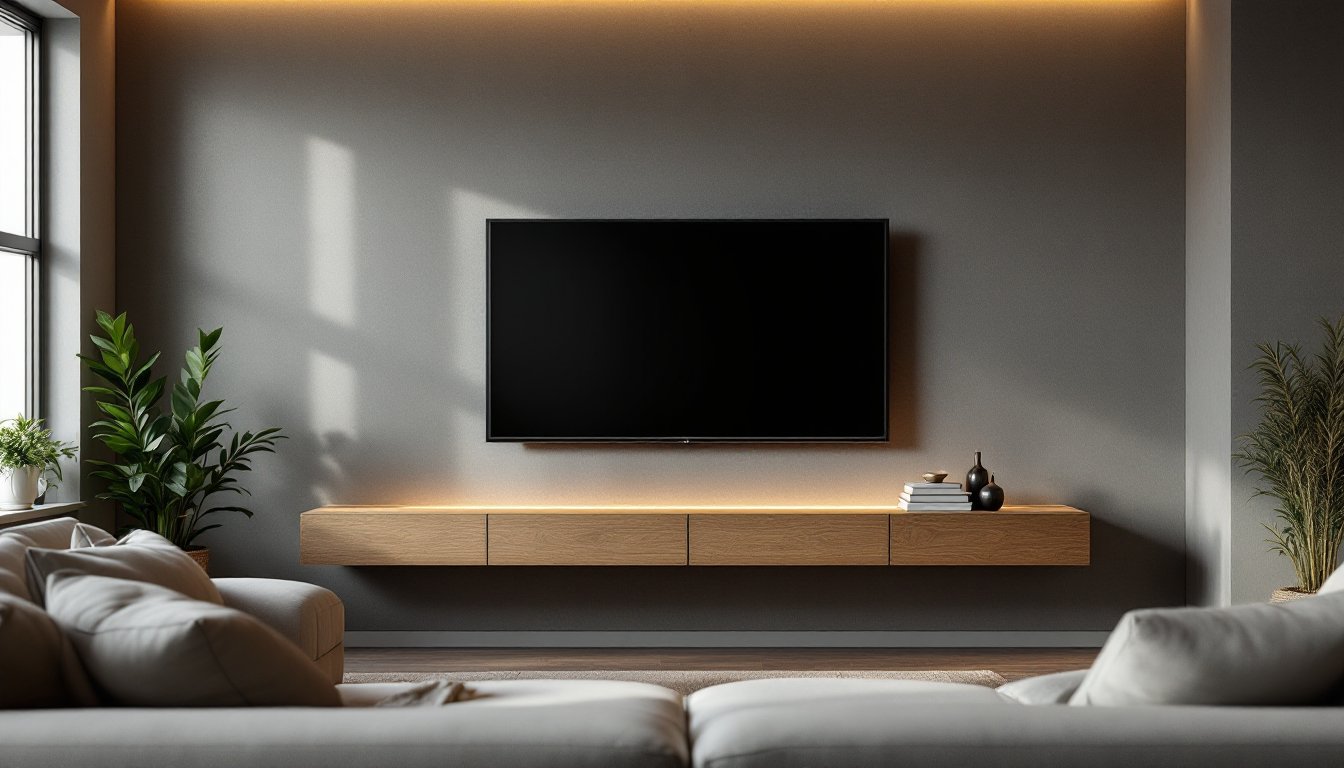
Lighting Integration: Illuminate Your Feature Wall
Lighting transforms a feature wall from static to dynamic. Recessed lights, LED strips, or wall sconces create depth and mood while reducing the harsh contrast between a bright TV and dark surroundings, which strains eyes during long viewing sessions.
Recessed lighting (typically 4-inch or 6-inch trim) installed above or flanking the TV softly illuminates the wall. Run power to a dimmer so you can adjust brightness during movie nights. This work requires running electrical wire through the wall cavity, which is doable for experienced DIYers but easier with professional help if you’re not comfortable with in-wall wiring.
LED strip lighting offers simplicity: peel-and-stick adhesive-backed strips mount directly to the wall or behind a floating shelf. Plug into standard outlets (or hardwire if preferred). These are low-cost (~$20–50) and reversible. Position strips along edges or shelf bottoms to create ambient light without glare on the screen.
Sconces flanking the TV add symmetry and warmth. Hardwired sconces need electrical boxes and are a moderate DIY task: plug-in sconces with cord covers avoid wiring entirely.
The goal: soft, indirect lighting that complements the feature wall texture or color without competing with the TV or creating reflections on the screen. Test placement and brightness before committing to permanent installation.
Conclusion
A feature wall behind your TV isn’t just décor, it’s an investment in how your living room functions and feels. Start with honest assessment of your space, skill level, and timeline. Paint and peel-and-stick options work fast and cost little: wood, stone, and integrated lighting require more planning but deliver lasting impact. Whichever direction you choose, prep the wall thoroughly, measure twice, and don’t rush the install. Your future self, relaxing on the couch with a clear view of a professionally finished feature wall, will thank you.