Table of Contents
ToggleA picture window can transform a living room from ordinary to extraordinary. Unlike standard double-hung windows, picture windows don’t open, they’re fixed panes designed to maximize the view and flood the room with natural light. Whether overlooking a backyard, garden, or street scene, a well-designed picture window becomes the focal point of any living room, anchoring furniture arrangement and setting the tone for the entire space. Installing or refreshing a picture window involves more than just glass and frames. It’s about understanding how to frame your view, choose the right treatments, and arrange the room to make the most of that natural light and connection to the outdoors.
Key Takeaways
- Picture windows maximize natural light and provide unobstructed views, creating a focal point that anchors living room furniture arrangement and improves mood by reducing stress.
- Proper installation of living room picture windows requires measuring the rough opening, checking for level and plumb, using dual-pane Low-E glass, and securing frames to properly sized headers—many projects require permits.
- Choose minimal window treatments like roller shades or Roman shades that raise completely out of sight, keeping at least 75% of the glass exposed to showcase the view.
- Position seating—sofas, window benches, or accent chairs—to face the picture window to create a functional reading or viewing nook that capitalizes on natural light and outdoor connection.
- Enhance the picture window’s impact with simple, budget-friendly updates: paint trim in contrasting colors, clean the glass thoroughly, add plants to the sill, and place mirrors nearby to amplify light and create depth.
- Frame the view with complementary décor on surrounding walls using floating shelves, artwork, and plants while keeping matte finishes and natural wood tones to harmonize with the natural light.
Why Picture Windows Are a Game-Changer for Living Rooms
Picture windows deliver unobstructed views and superior light penetration compared to traditional windows with muntins (the dividing framework between panes). A large picture window, typically 3 to 8 feet wide and 3 to 6 feet tall, functions as both a design element and a practical upgrade. They’re stationary, which means fewer moving parts to maintain, better insulation when properly installed, and a cleaner aesthetic without visible hardware or operational mechanisms.
The psychological benefit is worth mentioning too. Natural light reduces stress and improves mood: studies consistently show that rooms with expansive views and daylight feel larger and more inviting. A living room picture window connected to an appealing outdoor landscape acts as a living piece of art that changes with the seasons. For DIYers considering a replacement or new installation, picture windows are also structurally simpler than multi-panel configurations, though they do require proper header support and installation into a properly framed opening, this often means structural considerations and potentially a permit in load-bearing walls.
Creating the Perfect Frame for Natural Light and Views
Before placing a picture window, assess your existing opening and the view it will capture. Measure the rough opening (the space where the window will sit, typically 1/2 inch larger on all sides than the window frame). Check for level, plumb, and square using a 4-foot level and measuring tape. If the opening is out of square by more than 1/4 inch over 8 feet, you’ll need to shim and adjust the frame.
Nominal window sizes (how they’re advertised) differ from actual dimensions. A 3×4 foot picture window is typically 35 inches wide by 47 inches tall in actual opening size, so verify specifications with your supplier. Energy efficiency matters: look for dual-pane, low-emissivity (Low-E) glass, which reflects heat in summer and retains warmth in winter. If your living room faces direct sun, consider tempered or tinted glass options to reduce glare and heat gain.
Proper installation requires expanding foam sealant, shims, and exterior caulk. The frame must be secured to the rough opening’s header (the beam above), which carries the weight. Load-bearing walls require correctly sized headers: non-load-bearing walls have less stringent requirements. Many jurisdictions require a permit for window replacement, check local building codes before starting. Poor installation leads to drafts, water infiltration, and structural issues, so this is one project where hiring a professional installer may be worth the cost if you’re inexperienced.
Styling Window Treatments for Picture Windows
Picture windows demand thoughtful treatment choices because they’re meant to showcase the view, not hide it. Roller shades or cellular shades are popular options, they’re minimal, raise completely out of sight, and insulate against heat loss. Install them inside the window frame for a clean look, or outside for maximum light control.
Roman shades offer a softer aesthetic and work well in traditional or contemporary rooms. They fold neatly when raised and drape elegantly when lowered. Pair them with sheer curtains hung from a tension rod or decorative rod placed above the window frame. Sheers filter harsh afternoon sun while maintaining the view: this layered approach lets you adjust light and privacy independently.
For a more minimalist approach, skip fabric entirely and use motorized roller shades, a convenience upgrade that’s increasingly popular in 2026. They integrate with smart home systems and eliminate the need for visible hardware. If privacy isn’t a priority, consider clear or frosted window film applied directly to the glass as a subtle privacy solution without blocking light.
Avoid heavy drapes or valances that visually shrink the window’s presence. The goal is to treat the picture window as a framing device, not something to cover up. Measure the window’s width and height, then select treatments that stack neatly to the sides when open, leaving at least 75% of the glass exposed.
Functional Window Seating Arrangements
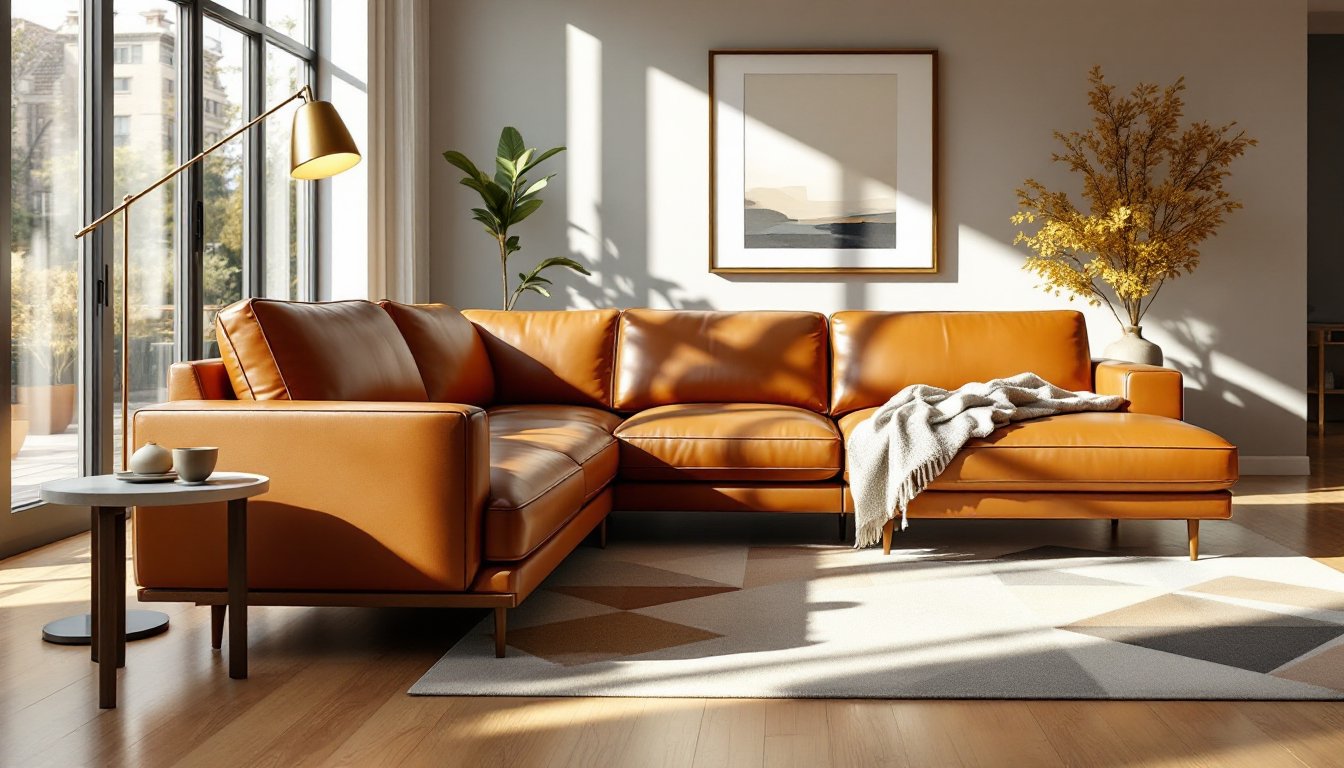
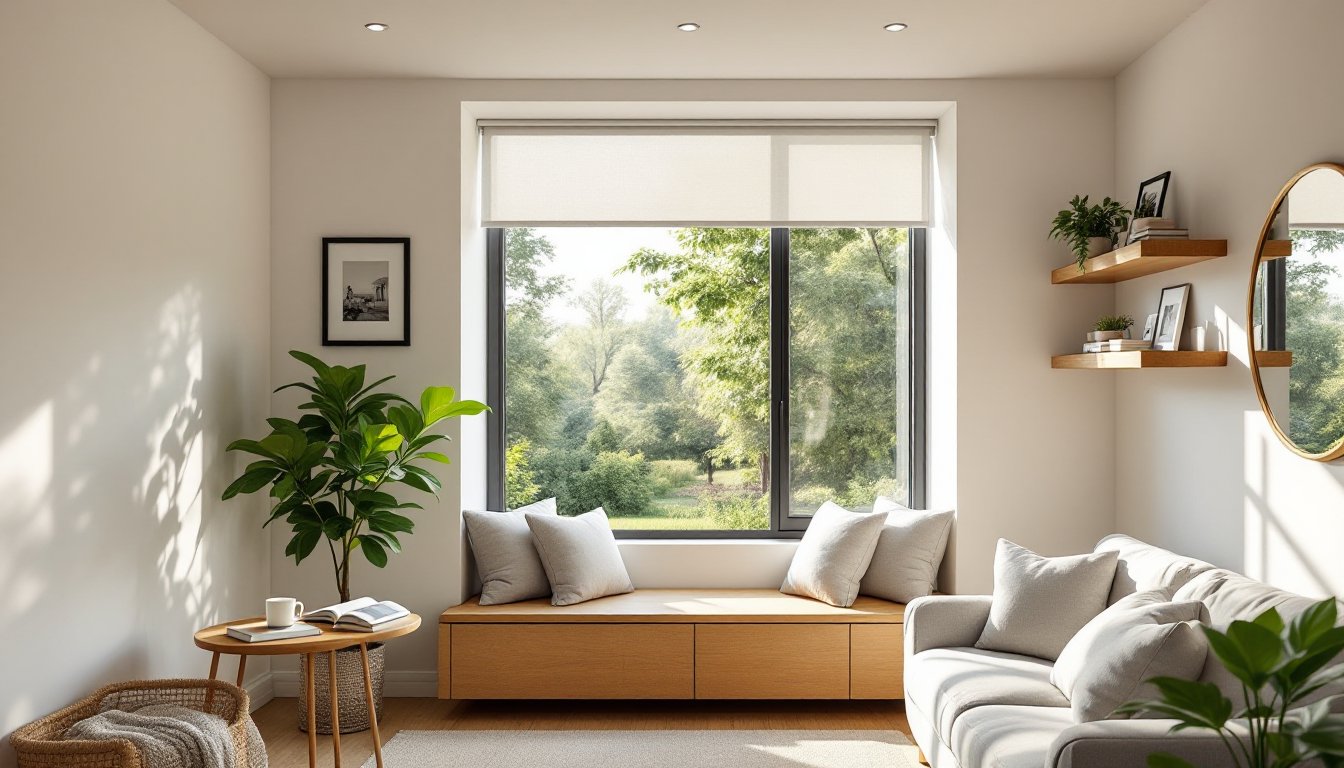
A picture window is the ideal anchor for living room seating. Position the primary sofa or a window bench to face outward, capitalizing on the view and natural light. This arrangement makes the window an integral part of the room’s circulation, not an afterthought.
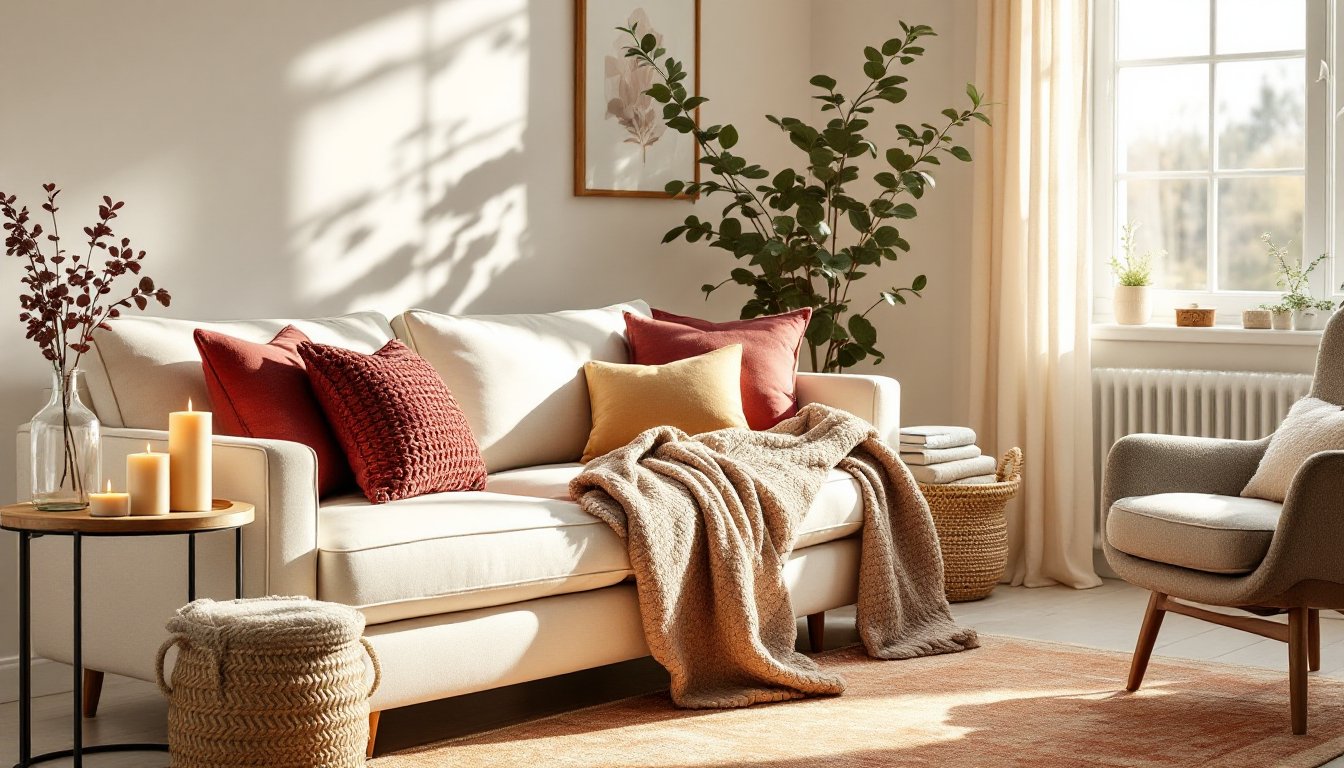
Window benches or cushioned seats are practical for smaller rooms. A 2-foot-wide, 3-foot-long bench requires a modest footprint and creates a cozy reading or viewing nook. Use high-density cushioning (at least 4 inches) and a water-resistant cover for durability. Add throw pillows and a blanket for comfort. Install the bench on a frame that sits 18 to 20 inches high, standard seating height.
For larger living rooms, orient the sofa perpendicular to the window so sitters can glance outward without twisting their necks. A chaise lounge or accent chair angled toward the window works well too. Avoid blocking the view with bulky furniture or tall shelving directly in front of the window. Use the space to its advantage: position a side table or floating shelf nearby for drinks, books, or décor objects. Natural light from the picture window will showcase these items and create depth in the room.
Complementary Décor Ideas Around Your Picture Window
Frame the picture window visually by extending décor to the surrounding wall space. Paint the wall directly behind and beside the window in a color that contrasts with (or complements) the outdoor view. A soft gray or warm white recedes, allowing the outdoor landscape to dominate. A bold accent color draws the eye and creates intentional drama.
Hang floating shelves on either side of the window at varying heights to display artwork, plants, or curated objects. This breaks up empty wall space and adds personality without crowding the view. Potted plants on the windowsill or hanging planters suspended from above blur the boundary between indoors and out, especially if your view includes greenery.
Consider mirror placement nearby, a strategically positioned mirror amplifies light reflection and makes the room feel larger. Artwork above or adjacent to the window should complement, not compete with, the natural view. A single large piece or a gallery wall with frames in a consistent material (black metal, natural wood, or white) looks intentional.
Lighting matters too. Install dimmers on ceiling lights or wall sconces flanking the window so you can adjust ambiance as daylight shifts. Avoid gloss or reflective surfaces on furniture placed directly in front of the window: they create glare. Matte finishes and natural wood tones harmonize with the natural light and outdoor connection a picture window provides.
Budget-Friendly Updates to Maximize Impact
Not everyone can install a new picture window. If that’s your situation, maximize the existing window’s potential with low-cost updates. Paint the window trim a contrasting color, glossy white, deep blue, or black, to frame the glass and draw attention to the view. Quality exterior-grade trim paint costs $20–30 per gallon and a fresh coat takes an afternoon.
Clean the glass thoroughly using a squeegee and professional-grade cleaner. Streaky, dusty windows diminish the impact of even a beautiful view. This free step is often overlooked and delivers immediate results.
Add simple roller shades ($30–80 per window) to control light without visual clutter. Rearrange furniture to orient toward the window rather than the TV or fireplace, this repositioning costs nothing and instantly elevates the room’s relationship to natural light and views.
Refresh the surrounding wall with removable wallpaper in a subtle pattern or solid color ($15–25 per roll). Self-adhesive options don’t require paste or primer, making them DIY-friendly. This creates a finished, intentional backdrop without permanent commitment.
Invest in one quality piece nearby, a high-end accent chair, a substantial side table, or a statement plant, rather than filling the space with mediocre items. One well-chosen element signals thoughtful design better than several cheaper alternatives. These selective upgrades, totaling $200–400, can transform how the living room feels and functions around the picture window.
Conclusion
A picture window in the living room is an asset worth showcasing. Whether you’re installing a new window or optimizing an existing one, the key is intentional design: frame the view with treatments and décor, arrange seating to leverage natural light, and resist the urge to overcomplicate the space. Start with one or two upgrades, a window seat, fresh trim paint, or thoughtful furniture placement, and build from there. The goal isn’t perfection: it’s creating a room where natural light, views, and functional comfort work together.